

Build Status: Public
Difficulty: Nightmare
Game Mode: Campaign
AFK Able: No
Mana Used: 0
Mana to Upgrade: 0
More Builds from Black Mambo № 5
CD is kinda one of those maps which requires a decent bit of practice. Having said that, it's easy to master once you've done enough practice. CD's Gauntlet level is possibly my favourite level of all times, becasue its very hard and very easy. Yes, ironic, but it is what it is! :D So without digressing much, lets get to the build!
Pre-requisites -- Before starting the Gauntlet, ensure you have max possible mana in your Aura, Buff and Minion builders. At the end of CD Phase 3, switch to your Aura Builder and jump into the portal(yeey!)
Step 1 -- Soon as you entire, skip the cutscene and readily place down a deal aura right on top of the Crystalline Squire. There are no restrictions to placing Healing auras, so they can be placed in "dark energy zones" as well.
Step 2 -- As soon as you've placed the heal aura, move in between 2 pillars and start placing Ensnare, Electric, Strength drain and Enrage auras. Go anti-clockwise or clockwise and place the same "EESE" aura stack between each pillars until you place 4 total stacks.
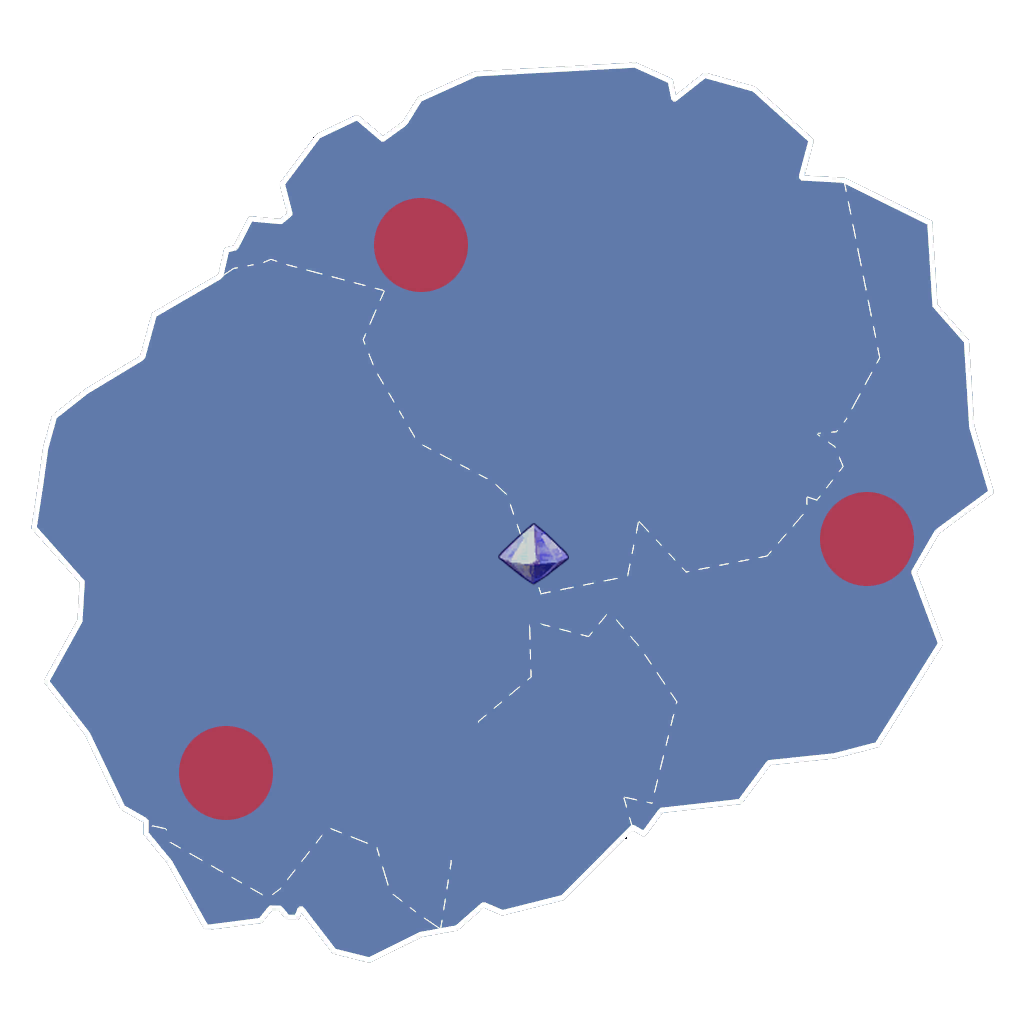
Step 3 -- Quickly switch to your Buff Builder and while facing the forge build a 5/6DU buff beam(doesn't matter what size, I usually put a 6DU beam since its quicker) such that it boosts 2 adjacent aura stacks. Place another Buff Beam of the same size 5/6DU south of the buff beam you just placed, refer the image.
Step 4 -- Once down placing buffs, quickly switch to your Summoner and place minions either on the buffs or in circle outside the Crystalline Squire. I prefer placing them on the buffs, which can be risky but here's the deal -- if you are adept at killing the Dragon quickly, it shouldn't be a concern for you, especially if you have like 3.5k Minion-HP stat.
Step 5 -- The whole ordeal of placing towers building minions etc. should be done until you have at least 15-18 seconds left, 15-18 as in the the on-screen countdown. Which is usually about 1.5sec+ per countdown, i.e. ample time. Anyways, switch to your Monk DPS with preferably a chicken and upgrade the buff beams, theres 4 chests near each pillar so it should be easy. I say Monk DPS becasue I've had best experience with playing with Monk on Gauntlet. You can rekt the bosses quickly and keep defenses alive. Its a no brainer to chose anything else other than the Barb or Monk, well unless you're feeling adventerous! Especially if you have a Ninja Monk(or any Monk skin that doesn't reduce speed). Remeber Speed is key in the combat phase. The Dragon is a bloody troll. And will dodge the harpoon shots. So at time you'll have to chase him down, which is why its best to have a monk without the Legendary or Super Legendary skins. Or you can also use a Barb just make sure to hit the Tornado stance while moving from Harpoon to Harpoon, and remember to also turn it off before hitting the Hawk Stance.