


Quickly test tower tweaks directly in this build view. Changes are not saved.
Click on a numbered hint marker on the map to zoom and highlight nearby towers. Double click on map to reset zoom.
No hint selected.
Highlight placed towers (Chrome limitation applies)


| Hero | HP | Damage | Range | Rate |
|---|---|---|---|---|
| Squire | 50 | 50 | 0 | 0 |
| Apprentice | 50 | 100 | 50 | 50 |
Build Status: Public
Difficulty: Hard
Game Mode: Campaign
AFK Able: No
XP Per Run: 1,000,000
Time Per Run: 20 minutes
Mana Used: 0
Mana to Upgrade: 0
More Builds from Pandoraaaa
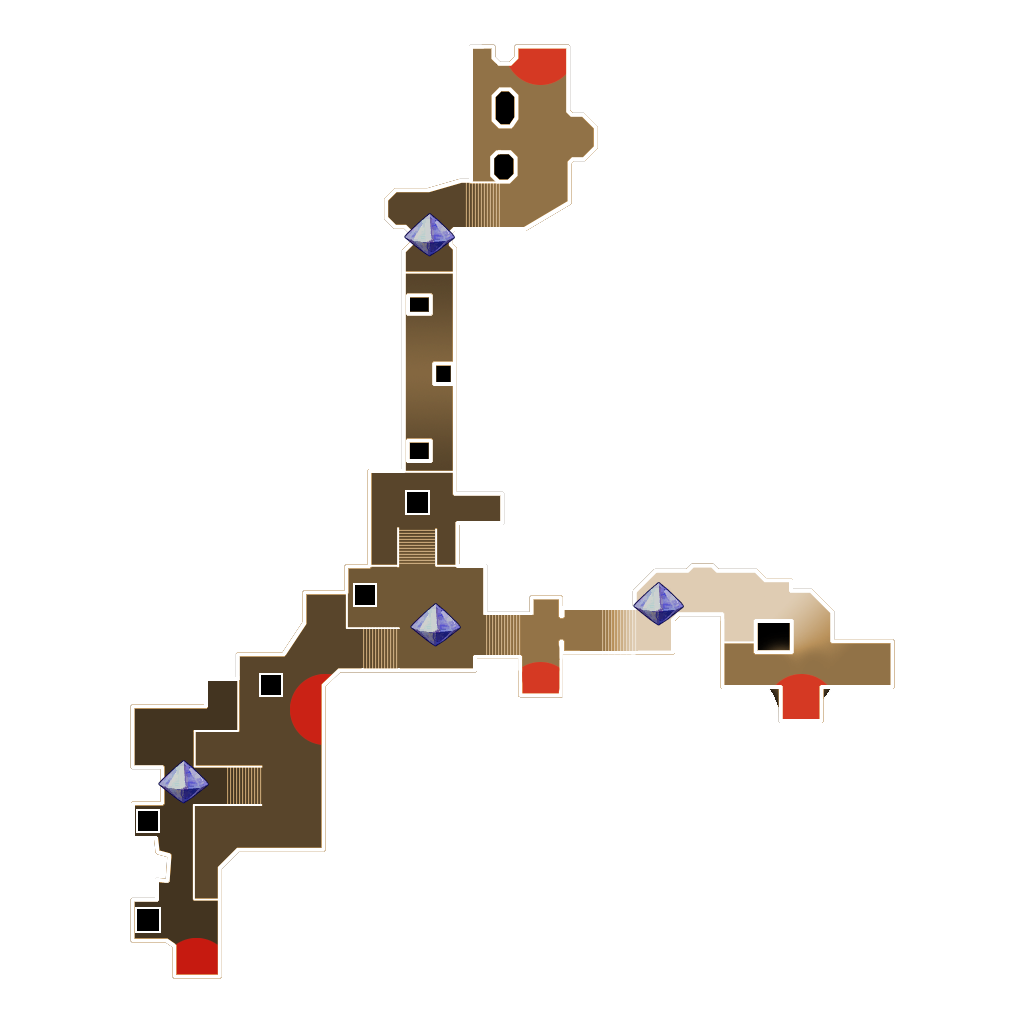
North crystal is the most well guarded. It's too far to reach during combat wave so it must reliably last without repairs through the whole wave.
West crystal will be getting very tight pressured. If an ogre spawns here, I recommend hunting it down.
East crystal will be pretty consistent. Repair after each wave.
Hint 1: Central Crystal - This is where you will be standing. These sides have the most struggle but you will be personally focusing on repairs and DPS here. Mana bombing when an ogre spawns helps a ton.
How does this build work? The Slice and Dice blockades hold off ogres and shred smaller mobs like kobolds, and will shrug off any damage due to its extreme tankiness. Fireballs are the heavy arsenal of the build, taking out the ogres. Lightning towers kill any stragglers and finish off fire-resistant mobs.