


Quickly test tower tweaks directly in this build view. Changes are not saved.
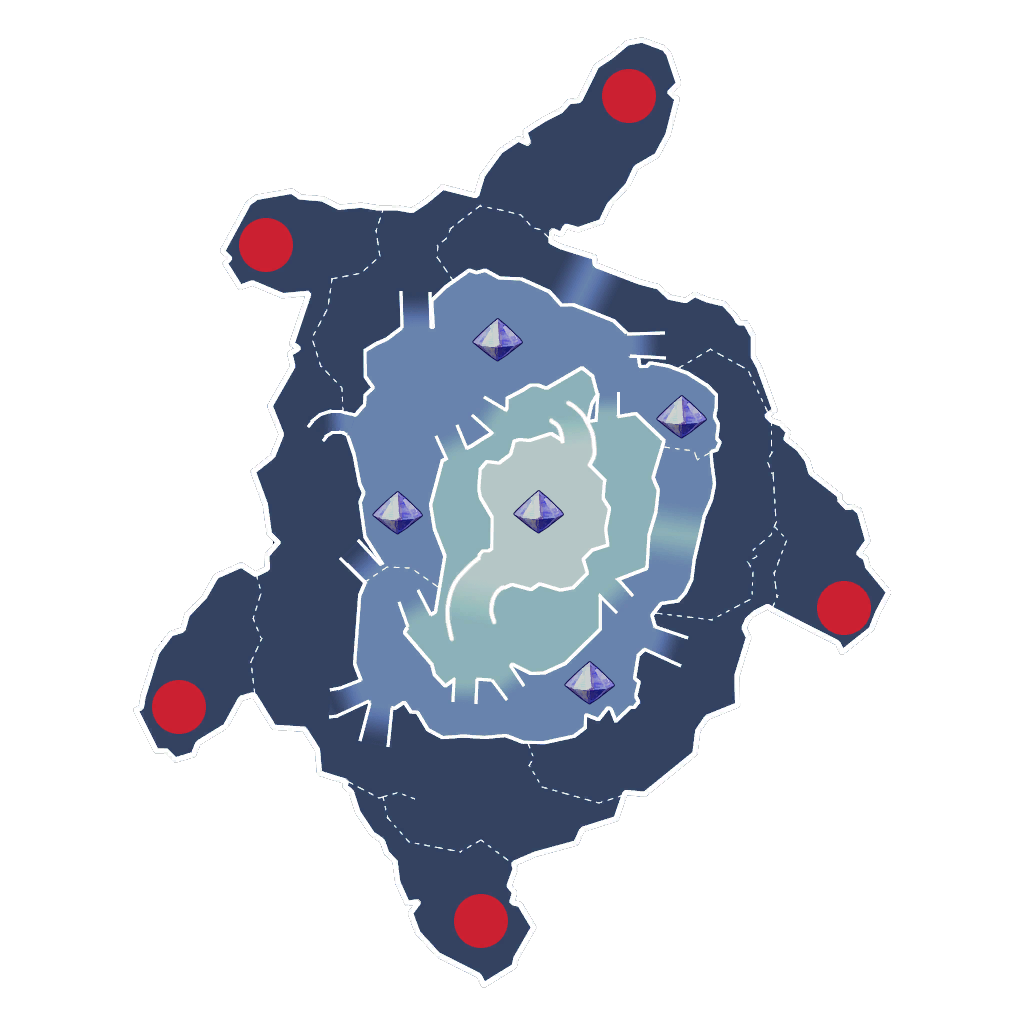
Click on a numbered hint marker on the map to zoom and highlight nearby towers. Double click on map to reset zoom.
No hint selected.
Highlight placed towers (Chrome limitation applies)


| Name | HP | Damage | Range | Rate |
|---|---|---|---|---|
 Huntress Huntress | 3000 | 5400 | 3300 | 1700 |
 Monk Monk | 3700 | 3800 | 5900 | 1500 |
 Series-EV Series-EV | 3700 | 6600 | 3400 | 3200 |
 Hermit Hermit | 4600 | 5200 | 2600 | 2800 |
Build Status: Public
Difficulty: Nightmare
Game Mode: Campaign
Hardcore: No
Ruthless: No
AFK Able: No
Mana Used: 0
Mana to Upgrade: 0
More Builds from Lusitainia
Place the beams/golems a bit outside the stone circles the crystals are on to avoid ogres hitting the crystal (as much), auras can be placed closer to the crystal itself.
This worked for me. My DPS for the boss was lacking and was a slow fight and I was slow to react to demon lords and kept losing. This setup for me needed 0 attention and worked out instead of falling while I was focused on something else. Using other builds the mage minions kept going down, even down to 1/2 health during a wave itself without the boss up for me.
During the boss I was able to just ignore the demon lords with my stats, the crystals took a couple stray hits during the run for minimal damage (at most 5% health off anything during a VERY prolonged fight) with two run arounds to repair the auras with how long the fight went. (173/175 DU used total, was done solo for low scaling)