


Quickly test tower tweaks directly in this build view. Changes are not saved.
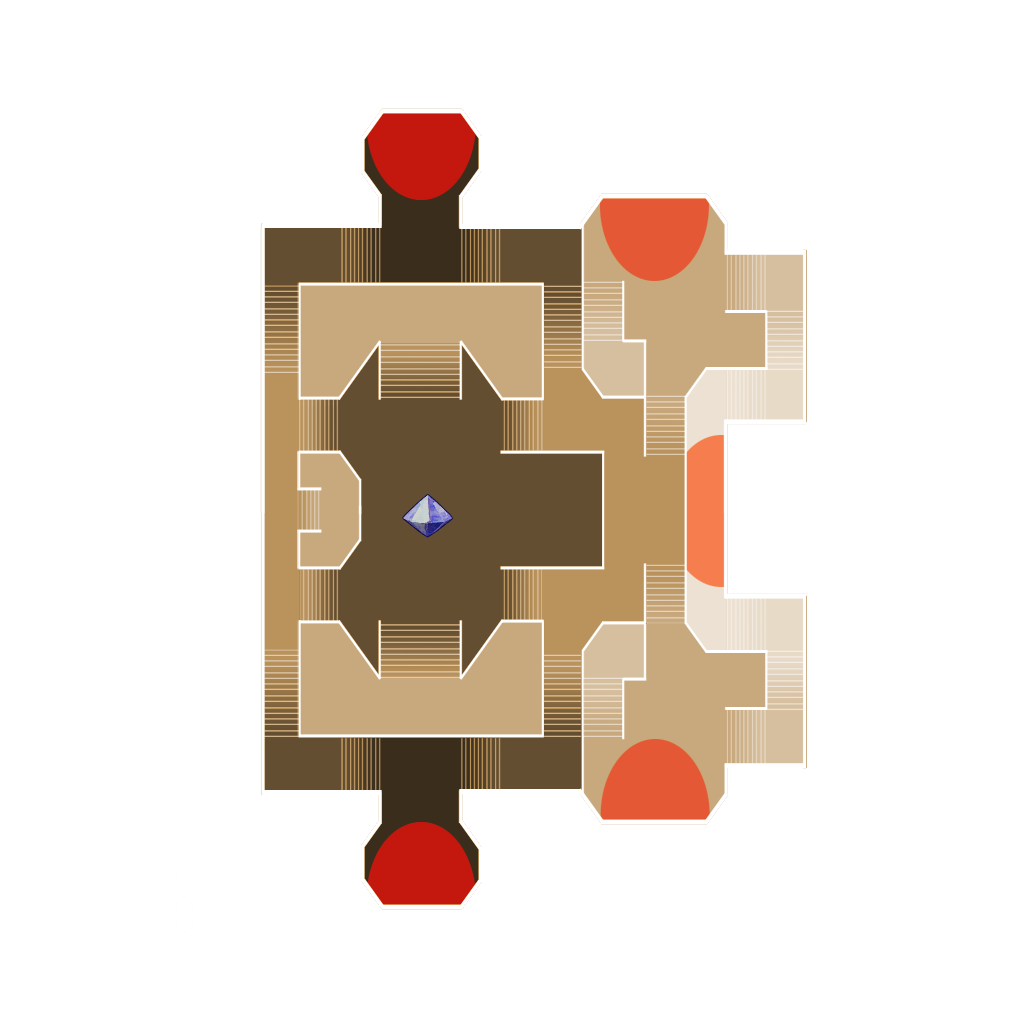
Click on a numbered hint marker on the map to zoom and highlight nearby towers. Double click on map to reset zoom.
No hint selected.
Highlight placed towers (Chrome limitation applies)


Build Status: Public
Difficulty: Ruthless
Game Mode: Pure Strategy
AFK Able: Yes
Mana Used: 0
Mana to Upgrade: 0
More Builds from Sleepy
This is really fast to setup. The kills per hour is also pretty high as there are no slow ogres and most mobs melt right out of spawn.
Equip your builder Monk and Huntress with your tower damage gear (especially your Huntress).
I used 4 Summoners with the following pets around/on the Hermit mushroom stack:
- Double Monk
- Double Huntress
- Double Apprentice
- Imp + Healer
- While upgrading, substitute out the Imp/Healer Summoner.
The Buff Beam is optional if you have the Monk, Huntress, and Apprentice guardian summoners buffing everything.
You could do this with just the double monk and double huntress summoners. In that case, you will want to replace a Mushroom with a Forest Golem.
Ensnare Aura needs to be sized down once to three times depending on your range. Just make sure it isn't slowing down the mobs from coming out of the spawn's invincibility area.
Put the traps as close to the crystal as you can. At lower stats, you might need to negative range Jester Tower Move the traps towards the crystal. Only a Darkness Trap was not used.
The big downside to this build is how much those traps flash. If you want to reduce the amount of flashing happening, make the apprentice summoner your main character and have them at Hint 2 in first-person view staring at the wall away from the chaos, so you don't have to see the flashes as badly while still buffing the traps and auras. You can also easily bump the chest that spawns there during every wave. You may need to move your summoner to Hint 3 if Hint 2 is too far away for buffing the traps and mushroom stack. If everything is placed correctly, the traps and mushroom stack should be buffed from Hint 3.