


Quickly test tower tweaks directly in this build view. Changes are not saved.
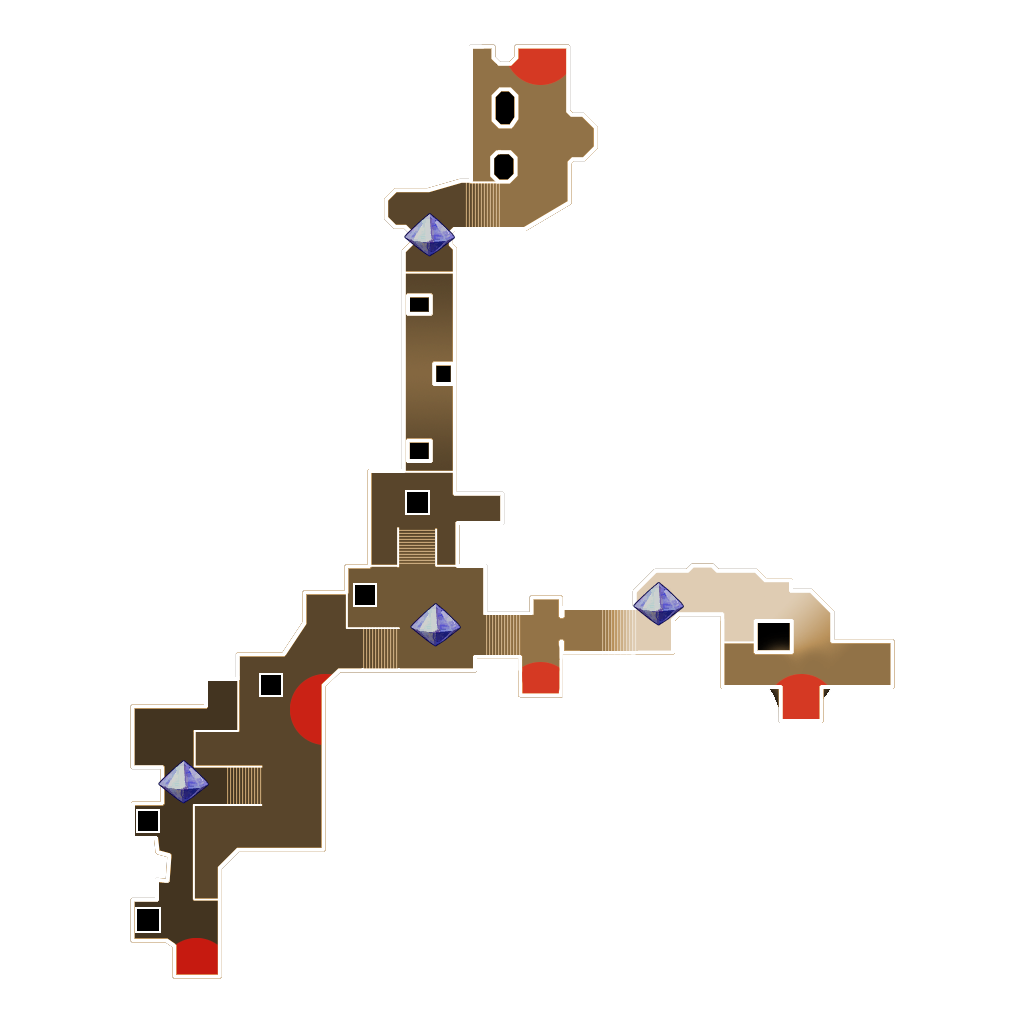
Click on a numbered hint marker on the map to zoom and highlight nearby towers. Double click on map to reset zoom.
No hint selected.
Highlight placed towers (Chrome limitation applies)


Build Status: Public
Difficulty: Ruthless
Game Mode: Pure Strategy
AFK Able: No
Mana Used: 0
Mana to Upgrade: 0
More Builds from The Dungeon Defender
Spawn Camp! We basically shut down the three wings and focus our middle. Basic setup is, holy bulwark, traps, shroom pit and Mortar. At center we control with auras/traps and some warden clouds to cap the ogre copters. Tower boost stands on the ledge (hint 3), targeting that spawn right next to him, and catching all the central build/auras with TB.
Latest changes: moving into more traps and less auras (because of the nerfs). Added reflect beams to further counter spiders.
I was running around with a secondary Tower Boost monk during combat, to grab all the chests (8 chests) and check on the build. We could probably run this as a 3-man, and drop the roamer, would probably cook even faster!
All Buff beams on the 3 wings are 5 DU long, so when the bulwark takes hits, they don't splash-hit the mortar/shroom pit.
Party: 1 TB monk (@ hint3), 2 summoners with huntress/monk pets (@hint5 and @hint1), 1 Roaming other (can be a TB, or summoner, or DPS)
Hint 1: build on top of the corner of the rail
Best time so far: 31:59 combat -- 947 kills/minute
Version notes:
Update: Had to adjust quite a bit to keep all spiders off the builds, they became the critical element of the build.
Update, trying to streamline, dropped all hermit towers, dropped a few traps, but still need a spike trap North (for spiders), had to add minions back in since we took out web walls, tosave some DU. 1 DU remaining
Update: Dropped webwalls at each wing and added bowlingballs, brought webwalls to the middle spawns. Dropped spike traps.
Update: trying webwalls instead of oil traps (does slow down the build a little), placement is key, we want the web wall as close to spawn as we can, to insta-catch the djinn spawns, then make sure it's within the range of the holy bulwark heal radius. If we saved a couple DU on buff beams (East side could probly be shorter by 1)we could do one more webwall where I have spider minions (play with that a little).
Update: Webwalls should be slightly back from the "closest" you can place them at spawns, then bulwark should be placed further back from it so that webwall barely still gets healed by the bulwark. Buff beam extends from bulwark backward 5 DU, then at the farthest end, is where we place the shroom pit and mortar.
On the East wing, you are kind of in the elbow corner, and can turn the mortar at an angle to cover both approaches, and trap is on the West to catch incoming spiders.
Trap placement: darkness is bascially placed at the same location as bulwark. Gas trap is further back (far enough that it doesn't trap mobs in the spawn when buff beam bossts it), other trap(s) is there to keep spiders off the mortar, so place it as far out as possible to still get buff beamed.