


Quickly test tower tweaks directly in this build view. Changes are not saved.
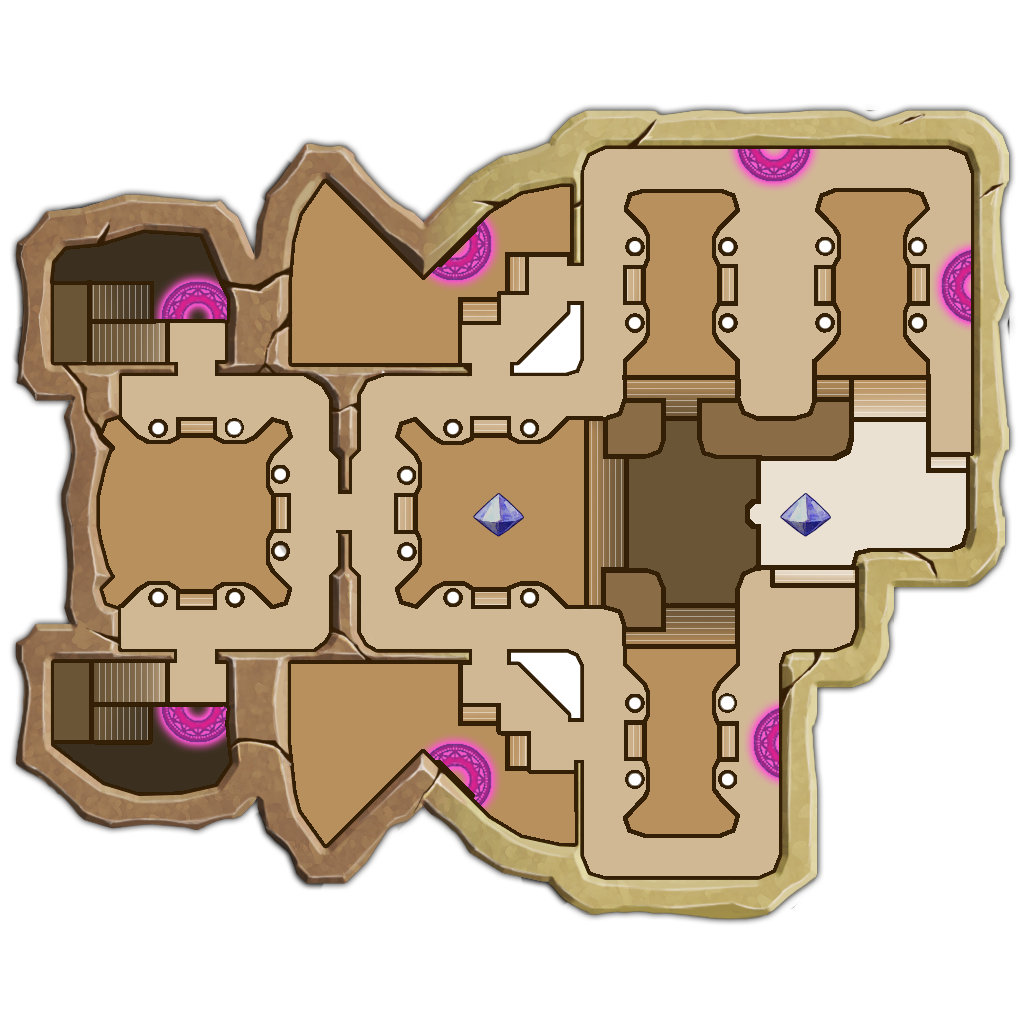
Click on a numbered hint marker on the map to zoom and highlight nearby towers. Double click on map to reset zoom.
No hint selected.
Highlight placed towers (Chrome limitation applies)


| Name | HP | Damage | Range | Rate |
|---|---|---|---|---|
 Monk Monk | 4400 | 5200 | 7700 | 3600 |
 Guardian Guardian | 8900 | - | 4100 | 4200 |
Build Status: Public
Difficulty: Ruthless
Game Mode: Campaign
Hardcore: No
Ruthless: Yes
AFK Able: Yes
Mana Used: 0
Mana to Upgrade: 0
More Builds from Sleepy
Under 1:20 minute initial build time. Total run time is about 9:40 with upgrading just the buff beams after some optimization help from Matheusll. Run time for me is under 9:30 if I add two AFK characters on top of the TB, one being a builder Guardian and another being whatever.
Build auras first starting with the bottom middle aura stack and then go counterclockwise in building auras and collecting chests. You don't have to be too accurate with the aura stacks as the buff beams can be adjusted to make up for any larger than 4du buff beam discrepancies with the extra DU leftover.
For the first combat wave, have with your upper as the primary and TB as secondary. While TBing around Hint 1, just go around with your upper and up the buff beams. Your TB will be boosting the east Owl Nests and auras.
After the first wave, either switch your upper to your builder Guardian or add your builder guardian and then just keep going; bring in the remaining split(s) for the last wave. You just need to TB and not worry about moving people around. Extra points if you add guard pets, but I only noticed a variation of a few more seconds difference in time. I switch my builder guardian and upper out on the last wave for monks (see Tip section below).
With my stats, you could AFK without upgrading or repairing anything other than maxing the buff beams, except for the last wave - you'll need to repair the west and northeast Strength Drain auras.
Tip
- For the last wave, pull out all of the same characters that use only 1 weapon type to maximize end of map rewards armor drop amounts. In this case, I pull out all monks (works better with guardian pets attached as well). Similar end of map rolling logic from Lab Assault appears to apply here from the small testing I did (which the logic probably applies to all maps). This map dropped some ult armor for me, so it will eventually drop a ++ sometime hopefully. For the quality modifier of the armor drops in this map's game mode, I have no idea.