


Quickly test tower tweaks directly in this build view. Changes are not saved.
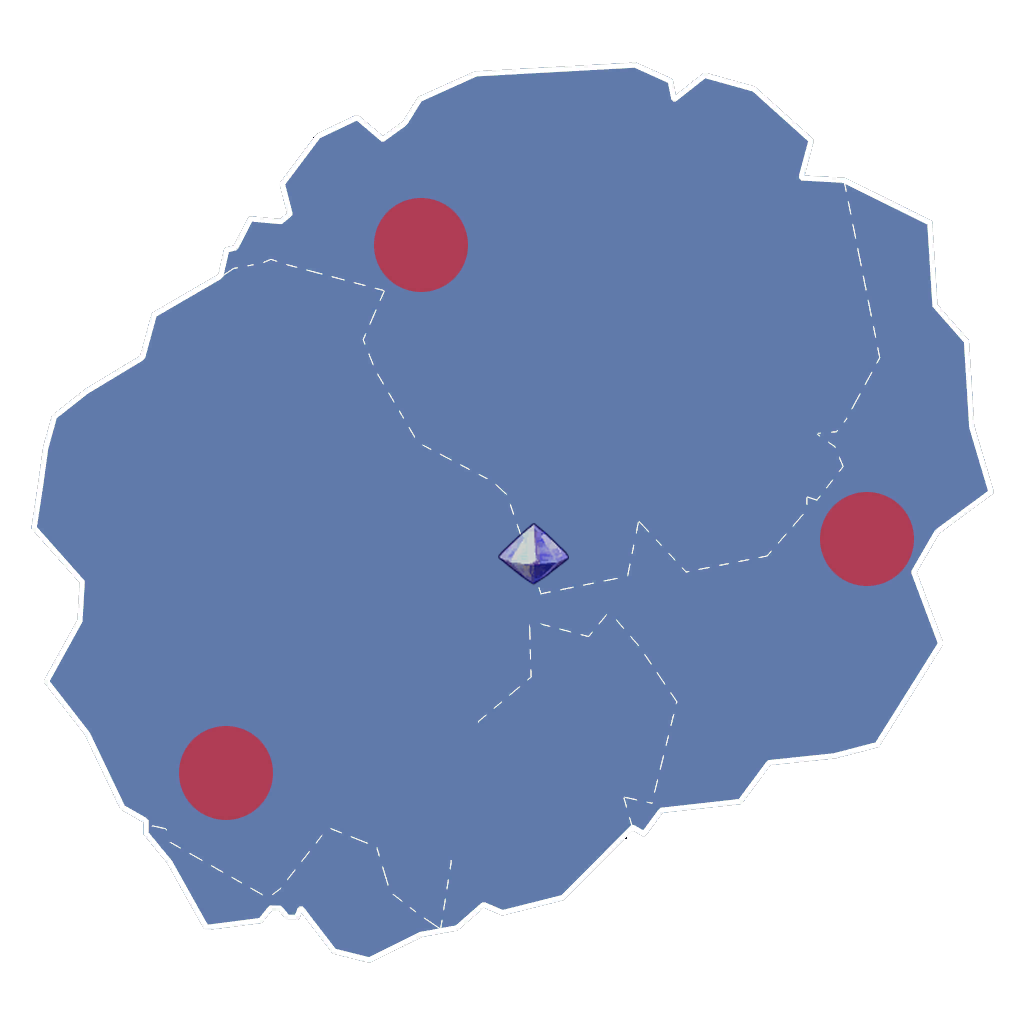
Click on a numbered hint marker on the map to zoom and highlight nearby towers. Double click on map to reset zoom.
No hint selected.
Highlight placed towers (Chrome limitation applies)


Build Status: Public
Difficulty: Nightmare
Game Mode: Campaign
AFK Able: No
Mana Used: 0
Mana to Upgrade: 0
More Builds from Mv
Solo: Monk with Mischief Maker and a DPS pet
Duo: Jester with Propeller Cat + Monk with a DPS pet
Wave 1: First wave will be mainly used for upgrades. If playing solo, i suggest using 2 characters in the first wave, a Monk to fastly kill all 4 bosses except for the Dragon and a Jester Upgrader. Don't waste too much time there, but make sure to upgrade all Buff Beams and Mages to 3 stars.
*** You won't need to have everything upgraded for the last wave, but, as the waves goes by, make sure to keep using mana from the floor to upgrade Ogres and Auras (Healing Aura above all).
Final Wave: You will fight just 4 bosses (Spider Queen -> Kraken -> Genie King -> Dragon), all of them capable of doing EXTREMELY high amounts of damage. Each of them will require you to fight differently. Surviving will be your most important focus, but keep an eye open for enemy Golden Ogres during the Genie King part. (All of them will spawn at the same time if you hit the Dragon with one of the ballistas too soon, otherwise you will have enough time to kill one at a time).
> Spider Queen: Whenever you kill all of her spiderlings, she will fall and become vulnerable for a few seconds, but killing the spiderlings are more important to avoid getting web'd and dying. You can choose to keep attacking her from a good distance only with your Mischief Maker (you can cheese it by making her stuck in the crystal simply by standing in the other side of it while she tries to chase you) or keep circling around her to maximize your dps by allowing your pet to attack her, however be careful to avoid being close in front of her by all means since she will constantly throws webs that will highly lower your dps and might even get you killed.
> Kraken: Your pet will be the most important damage dealer for this part, so try to keep near him as long as your HP isn't low. Make sure to use your Tower Boost to potentialize your Healing Auras whenever you are in danger, but even so never underestimate his damage. This is by far the hardest part in this map. Trying to avoid the spikes he will often throws at you is the most essential in this part, that's his most dangerous font of damage.
> Genie King: Just like in CR2, he has generic immunity, so Mischief Maker will be fundamental to succeed in this step (and an elemental pet will make this part pretty much a joke). Most safe strategy for this part is to simply attack him from inside your Healing Auras, but even so pay attention to whenever he starts using his laser attack (it will follow you and deal massive amounts of damage, it's pretty much the only way to die in this part, so just make sure to dodge it as much as you can. Using the pillars and structures around to block his laser is a great way to prevent it from killing you, but you can also simply circle around him to avoid it while you keep damaging him). Keep an eye open for Golden Ogres damaging your minions.
> Dragon: This is by far the easiest part, just be calm and play smart. NEVER get close to him. His flamethrower attack is the strongest attack in this entire map, it can easily one shot you no matter how much HP you have. So just play safe and attack him from a distant position with your Mischief Maker. Should take 1 or 2 cycles to kill him.